Pumpkin Painting Using Chalk Paint!
Pumpkin Painting Using Chalk Paint!
Yes! Orange Pumpkins Turn Blue With Chalk Paint!
Pumpkin Painting is easier than carving that ole’ jack-o-lantern!
It is easy, my dear readers.
And the color doesn’t have to be blue…it can be whatever color you want your pumpkins to be.
I shared how I painted my pumpkins blue and white last year and if you missed that post, I would like to share it with you again.
My dear readers….every year, I have noticed that pumpkin growers are offering alternative pumpkins….of various colors… to entice buyers. They want buyers to spread their wings a bit and to think outside the box as far as the old familiar orange pumpkin color goes.
Tis true that most pumpkins are bright orange and a Fall/Autumn vignette just would not be the same without a few scarecrows, plump orange pumpkins, garlands of Autumn leaves and bales of hay gathered around the front entrance of one’s home.
BUT….what about the interior of one’s home?
This is where pumpkin painting comes in.
I have to confess that I have always liked orange pumpkins in my interior decorating for Fall….and I will still have orange pumpkins around.
But I like to spice it up a bit.
It is so easy to do…I use chalk paint.
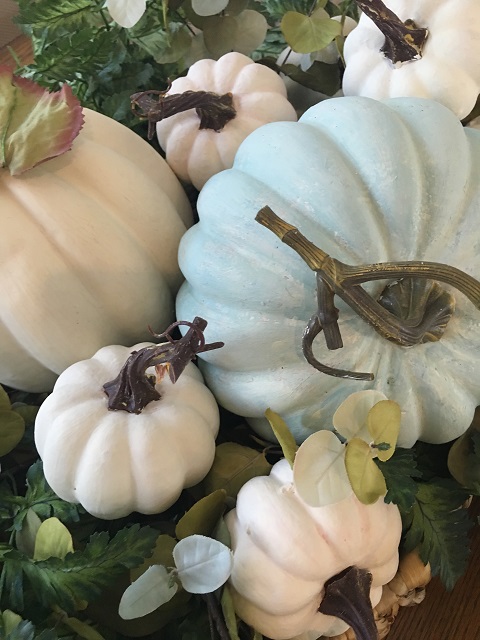
I used a Provence blue and highlighted with off white chalk paint. I also used a paint wax to give the pumpkins a little bit of realness to their skins. I am not sure how long real pumpkins last, with their various unusual colors…. but I do know that my faux painted pumpkins will last year to year.
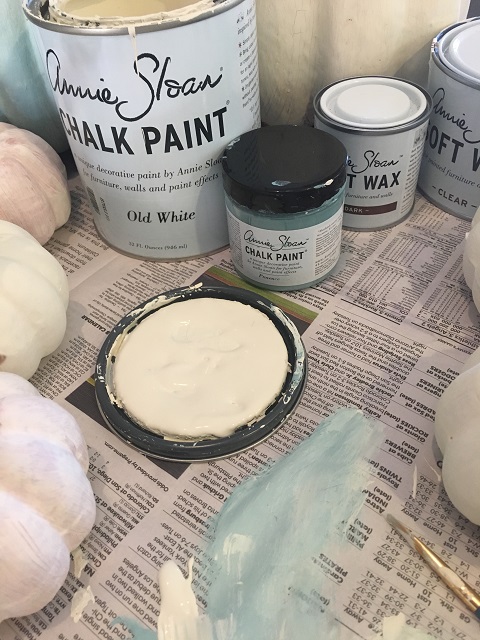
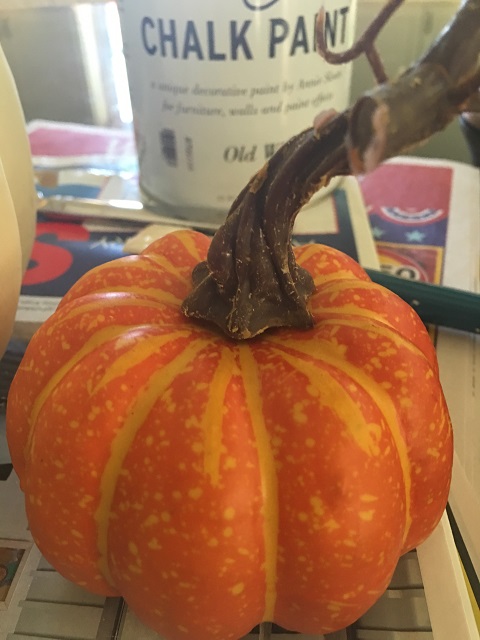
To paint a faux pumpkin is easy: Pick a paint. I used chalk paint but you can use any paint you like. Next, pick a faux pumpkin…I found these at the dollar store.
Now lets get started with pumpkin painting.
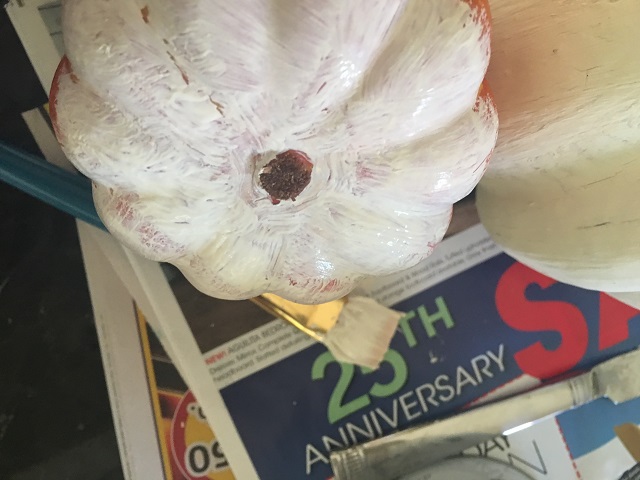
I started painting at the bottom of the pumpkin and I gave my pumpkins at least two coats! The pumpkin below has only one coat on the bottom. As it dries, it looks much better, but I would still recommend two coats for complete coverage.
After the pumpkins dried… I buffed some of them with a light paint wax to give a more realistic look.
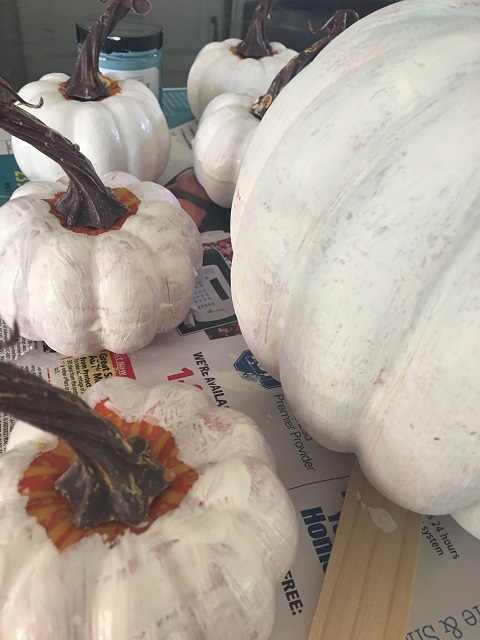
I painted a few of the stems of my white pumpkins a goldish color, and others I left natural. As you can see from the photo below, the two coats of chalk paint really make a difference in coverage.

Some DIY-ers pull the stems off of real pumpkins and replace the faux stems on their painted pumpkins with a glued “real” stem. However, I did not do that.
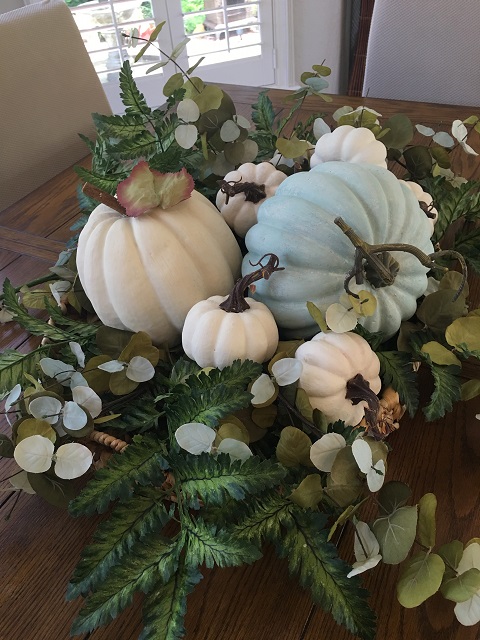
I searched around my home and found some faux eucalyptus and other greenery and tossed it in a flat basket just to show you what kind of arrangement of soft neutrals I am striving for.
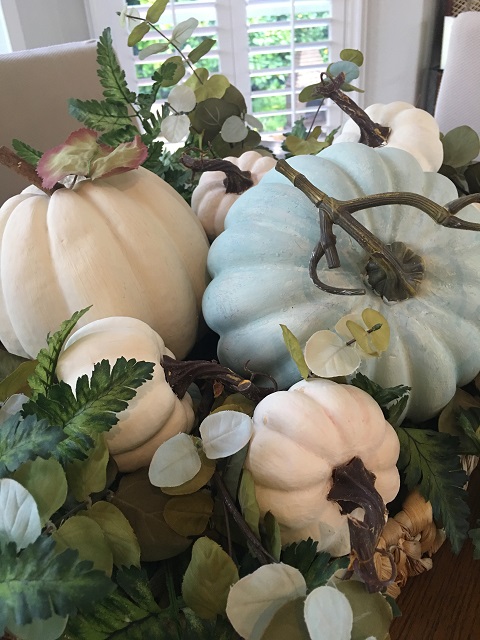
The centerpiece is certainly not finished…. I literally threw it all together without taking the time to arrange it. I know we are friends here and I just wanted you to see the possibilities.
I most likely will use something completely different when I actually do the soft-neutral tablescape for Thanksgiving. In fact, I would like to use real eucalyptus and perhaps some real acorns and perhaps wheat straws. I will use whatever will be available at that time. AND, as I look at the pictures of the blue pumpkin, I may even add a little more white to tone it down a little softer.
But for now, you get the idea of the blue and white centerpiece. My mind is whirling right now as I also would like to perch a few of the little white boos on my mercury candlesticks if I can find the real ones at my favorite pumpkin patch. Who knows? I might even see pink pumpkins there this time. Endless possibilities for tablescapes!
Tell me, my dear readers….do you like the look of colored pumpkins or are you the traditionalist with the gorgeous orange?
Have a great week-end.
![]()


I love the blue pumpkins. I stepped outside my box this fall too. I did my mantle in blue and amber. It’s beautiful if I have to say so myself. Can’t wait to see your tablescape.
Thanks Sandy. Don’t you love when a plan comes together? I have seen some beautiful colored pumpkins and your blue and amber mantle sounds awesome. Thanks for stopping by.